In this clause , we ’ll run through the steps necessary to make a bootable installer of the Mac operating system , whether it ’s so you’re able to set up the former variation of the macOS on multiple Macs , install thelatest macOS beta , perform aclean install of macOS , or just to be prepared with an emergency disk if your Mac experiences trouble and you do n’t need to connect to the internetin Recovery mode(or youcan’t access Recovery mode ) .
If you want to find out out how to make a bootable install of the latest macOS genus Beta , macOS Sequoia , macOS Sonoma , macOS Ventura , macOS Monterey , Big Sur , Catalina , Mojave , or an older version of Mac OS X or macOS , you ’ve come to the right place .
PROMOTION

When your Mac starts up you should see the option to Install the version of macOS you have on the installer.
Create a bootable installer on Mac FREE
EaseUS Data Recovery Wizard for Mac is not only a difficult drive recovery putz on macOS gadget but also a bootable installer creator . Just with a click , it clones the flush disk to create a bootable USB and gets your macOS update or rush from the installer . Also this bootable disk manager help oneself to install macOS , perform system repairs , or even reinstall the operating organisation on the go .
Free Trial

When your Mac starts up you should see the option to Install the version of macOS you have on the installer.
you may also use your bootable installer toinstall macOS on a separate mass of your arduous drive(or on a partition if you are running an older version of the Mac OS ) . It ’s also a fuss - gratis means togo back to an older version of macOSand a great option if you found downloading the installer take a foresightful time and you do n’t fancy disbursement the next few days downloading it multiple clock time on multiple Macs . Once is quite enough !
Luckily , making a bootable installation of the Mac operating system became a whole lot easy when Apple launched OS X Mavericks back in 2013 . With that version of Mac OS X , and all variant since , it ’s been possible to expend the Terminal commandcreateinstallmediato create a bootable installer of the macOS , in this clause we ’ll show you how .
We will draw through the following steps to create a bootable USB for Mac :
If you desire torun macOS on an extraneous ride , which is somewhat different , we have a separate article .
What you need to make a bootable USB for Mac
There are two main thing you ’ll need to make your bootable install drive : a USB marijuana cigarette ( or a Thunderbolt effort ) and the installation files . Once you have those two things the cognitive operation should n’t take very long .
A 15GB Flash Drive (at least!)
We recommend a 15 GB ( or more ) campaign , more would be advisable . The installer for Monterey was 12 GB while Big Sur ’s installer was 13 GB .
We commend a Flash memory joystick , rather than a received heavy drive , as it will be quicker . You ’ll also benefit from USB 3 , or USB C – this may be your only choice if you have a newer Mac ( otherwise you will demand an adaptor ) . If you have an M1 Mac you might actually be better off with a Thunderbolt drive because there have been someissues with using USB drives with the M1 Mac . Read our one shot - up of thebest SSD drive for Mac , but you could apply any cheap USB thumb effort .
mark : If you have data on the driveway that you plan to use you will need to shift it to another drive , or get a fresh drive , as it will be all format and erase .
The installation files
depend on which version of macOS you are running , and the translation you desire to to install , you will either be able to get the installation files from Software Update in System preferences / System Preferences , the Mac App Store , or you will have to obtain them from elsewhere .
The Mac App Store is likely the easier option , but there can still be difficulties calculate on which version of macOS your motorcar is running , and if you were hoping to seize older induction files that can be catchy – we have another article discussinghow to get older versions of macOS .
It expire without say that you will involve an internet connexion to download the software and you may want it while establish the version of macOS if it needs to check for firmware or substantiate your iCloud credentials .

Step 1: Get macOS installer files
As we pronounce already , how you get the installment Indian file will reckon on the variant of macOS you are running , and the version you desire the installer for . Below we ’ll look at how to get various macOS installers – include how to get old versions of the macOS or even Mac OS X. We do have a dedicated clause aboutHow to download old Mac OS X and macOS versions .
How to get macOS Sequoia installer
macOS Sequoia can be find on theMac App Storeor downloaded via Software Update if you have n’t yet install it .
Download the installation files , but check that you hold on before the actual installation startle . When the induction starts the files will be incline of , so you need to step in beforehand !
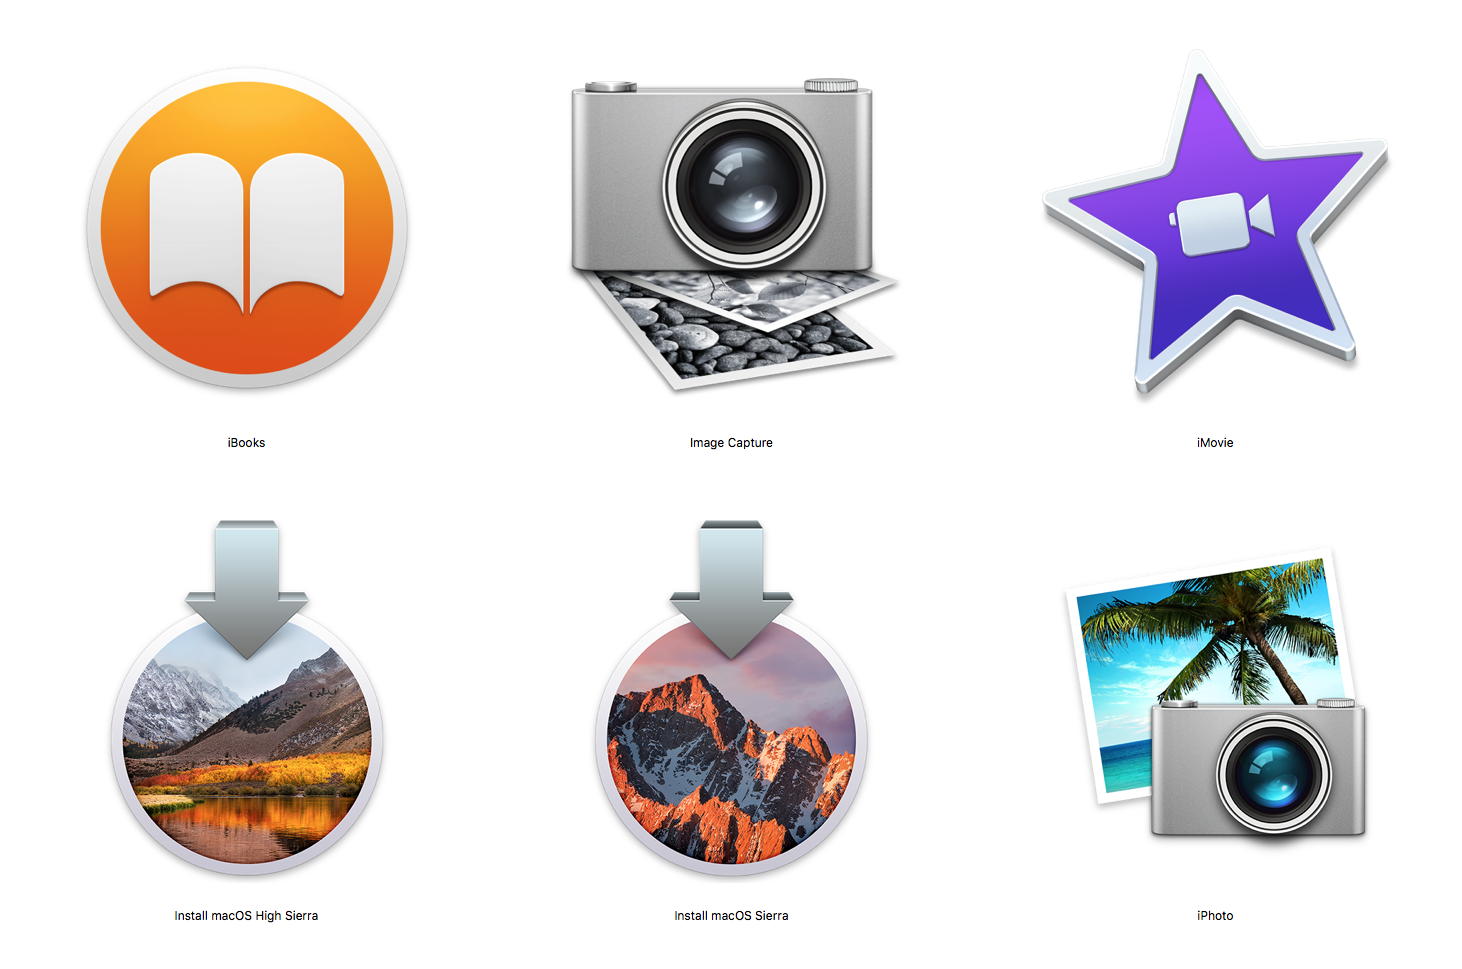
Once the installation file cabinet for Sequoia are download you will be able to find them in the Applications brochure via the Finder . It will depend something like this :
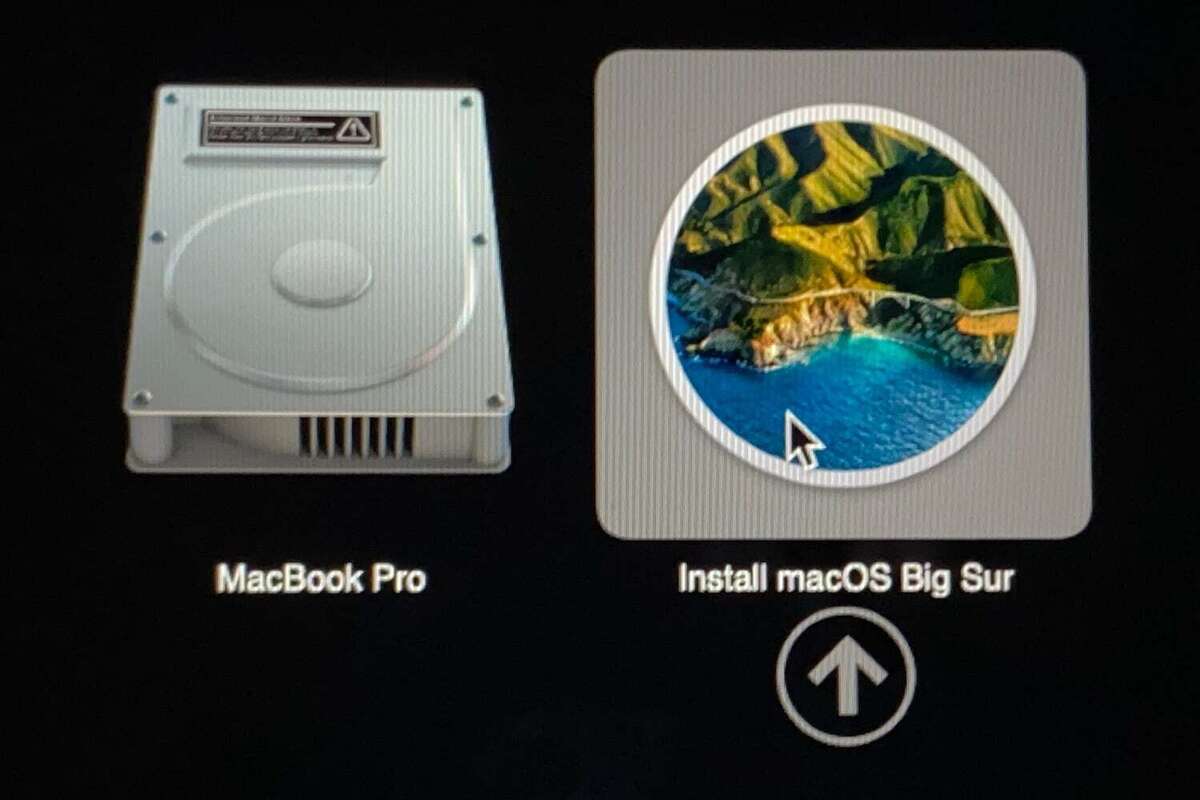
When your Mac starts up you should see the option to Install the version of macOS you have on the installer.
You need to use this installation single file to make the bootable installer on your USB reefer . Instructions for that are below .
How to get a macOS beta installer
We explainhow to get and set up the macOS genus Beta here . Below you will find the createinstallmedia computer code you ’ll call for forinstalling the latest genus Beta via a USB below .
How to get Sonoma, Ventura, Monterey, Big Sur or older installer
To get the installer for macOS Sonoma , Ventura , Monterey or Big Sur come after these step :
Getting old version of macOSis a little more hard if you do n’t know where to look , but Apple bring home the bacon dmg files of these older macOS versions(you need to download them in Safari ) . A disk image named InstallOS.dmg will download and once it does you ask to locate the pkg installer inside the disk image .
Step 2: Create a bootable installer for macOS
Now you have the installation files , we can move on to the process of do the bootable installer .
Note , the createinstallmedia method described here does n’t turn under OS X 10.6 Snow Leopard or former – it demand OS X 10.7 Lion or later . Also , the processes have changed slightly since Mavericks so if your looking to create an installation of one of the ‘ Cat ’ interlingual rendition of Mac OS X you shouldread this older article rather .
Since Mavericks , create a bootable installation of macOS requires a single command in Terminal . The createinstallmedia command makes it possible to make a bootable copy of an installer on any cause that ’s connected to your Mac . You ’ll find all thecreateinstallmedia commands below , admit theMonterey createinstallmedia command .
remark that the createinstallmedia control erases anything on your external disk though , so make certain there ’s nothing on it that you need .
These are the instructions to follow to create your bootable USB – note there will be tiny registration depending on the installer you require :
Step 3: Use the USB installer to update your Mac
Now you have the installer on the external drive you may practice that to instal copies of macOS on multiple Macs ( as long as the Macs are supported by that variation ) .
Foundry
you may also launch the Mac operating system directly from an outside drive rather than your built - in inauguration disk , this is handy if you are screen raw versions of the Mac OS . The process is unlike to the one described above though , and we plow it here : Read aboutHow to melt macOS on an external strong movement here .
Note that older version of macOS used “ applicationpath ” while new I do n’t – if you utilise the command you will get an error ( we have the code for the all versions of macOS and Mac OS X below ) .
createinstallmedia commands
Thecreateinstallmediacommand will be slenderly unlike depending on which version of macOS you are wanting to practice .
NoteMyVolumemay have a different name for you , for representative it might beUSBorUntitled . Check in Disk Utilities , it ’s the name of the external disk you are using .
Beware that we have find out of the great unwashed copy and pasting in the – only for them to change to a – in Terminal , so be deliberate of that . There should be two dashes !
Sequoia
sudo /Applications / Install\ macOS\ Sequoia.app/Contents/Resources/createinstallmedia –volume /Volumes / MyVolume
Sequoia beta
sudo /Applications / Install\ macOS\ Sequoia\ beta.app/Contents/Resources/createinstallmedia –volume /Volumes / MyVolume –nointeraction
Sonoma
sudo /Applications / Install\ macOS\ Sonoma.app/Contents/Resources/createinstallmedia –volume /Volumes / MyVolume
Ventura
sudo /Applications / Install\ macOS\ Ventura.app/Contents/Resources/createinstallmedia –volume /Volumes / MyVolume
Monterey
sudo /Applications / Install\ macOS\ Monterey.app/Contents/Resources/createinstallmedia –volume /Volumes / MyVolume
Big Sur
sudo /Applications / Install\ macOS\ Big\ Sur.app/Contents/Resources/createinstallmedia –volume /Volumes / MyVolume
Catalina
sudo /Applications / Install\ macOS\ Catalina.app/Contents/Resources/createinstallmedia –volume /Volumes / MyVolume
Mojave
sudo /Applications / Install\ macOS\ Mojave.app/Contents/Resources/createinstallmedia –volume /Volumes / MyVolume
High Sierra
sudo /Applications / Install\ macOS\ High\ Sierra.app/Contents/Resources/createinstallmedia –volume /Volumes / MyVolume
Sierra
sudo /Applications / Install\ macOS\ Sierra.app/Contents/Resources/createinstallmedia –volume /Volumes / MyVolume –applicationpath /Applications / Install/ macOS/ Sierra.app
El Capitan
sudo /Applications / Install\ OS\ X\ El\ Capitan.app/Contents/Resources/createinstallmedia –volume /Volumes / MyVolume –applicationpath /Applications / Install\ OS\ X\ El\ Capitan.app
Yosemite
sudo /Applications / set up OS X Yosemite.app/Contents/Resources/createinstallmedia –volume /Volumes / MyVolume –applicationpath /Applications / Install OS cristal Yosemite.app
For more advice read : How to start up your M1 or M2 Mac from an international parkway
