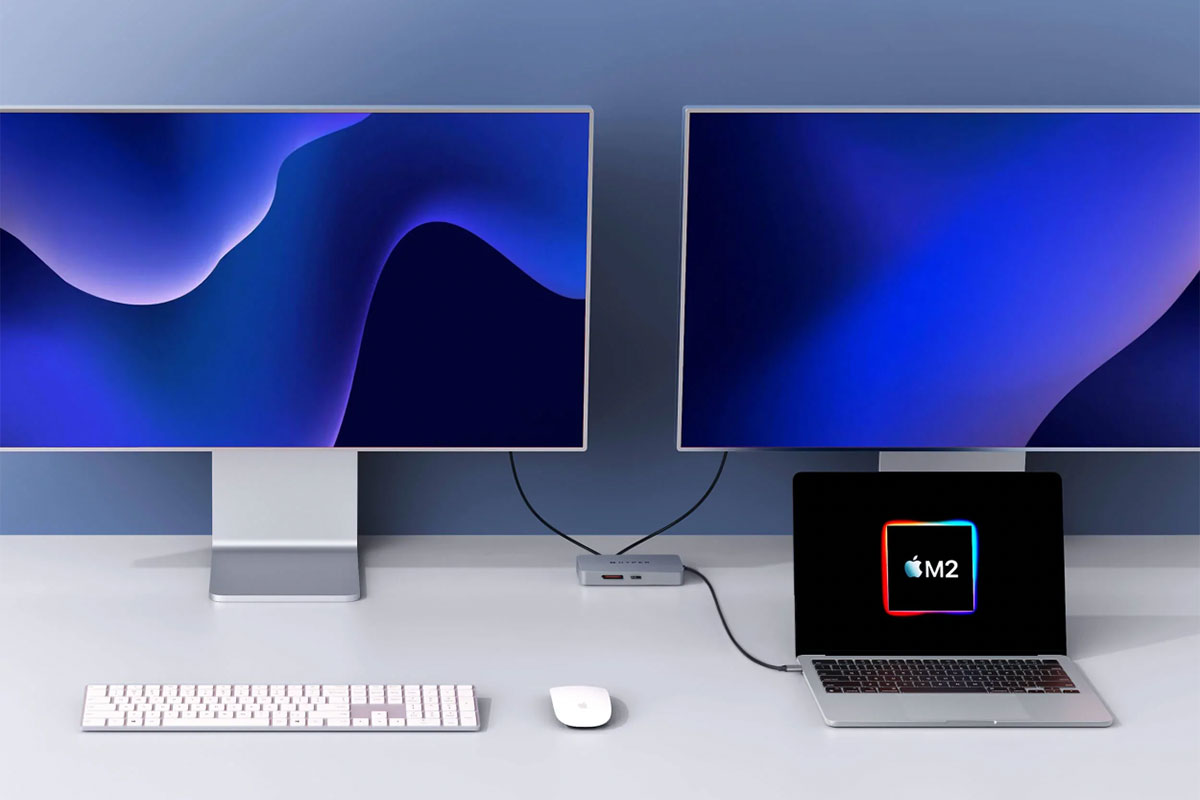
While the higher - end MacBooks with M1 / M2 / M3 / M4 Pro and Max fleck patronage multiple external displays , the bulk of Apple ’s gloomy - end range of MacBooks that use a standard M1 and M2 central processing unit can not natively connect more than one outside monitor , and to do so the M3 has to have its palpebra closed . This is a monolithic restriction compare to the former Intel - based contemporaries of Mac laptops that could be given two display when plug in to a USB - C or Thunderbolt 3 dockage station or hub .
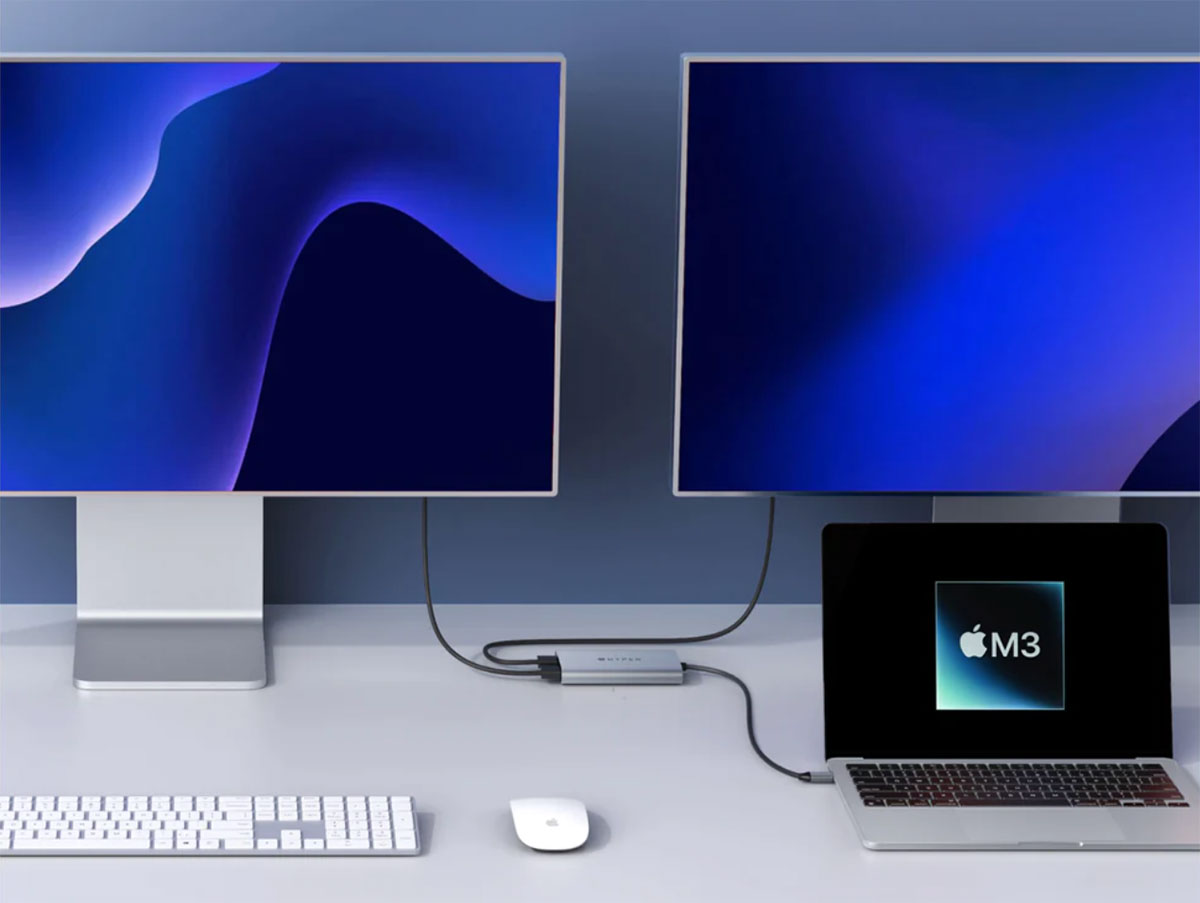
Apple ’s M3 MacBook Air manakin keep going two extraneous monitors but only if the MacBook has its lid close in what is known as Clamshell Mode . The M3 MacBook Pro supports a similar feature , but themacOS Sonoma 14.6 updateneeds to be installed . We explainhow to run two-fold external displays on an M3 MacBookin a separate clause .
The solutions below , however , allow for more than two external exhibit on plain M1 , M2 and M3 Macs with their lids open if you want it . The unornamented M4 MacBook Air and Pro theoretical account do natively support two displays with the lid open but if you need three display for these MacBooks , then keep read .

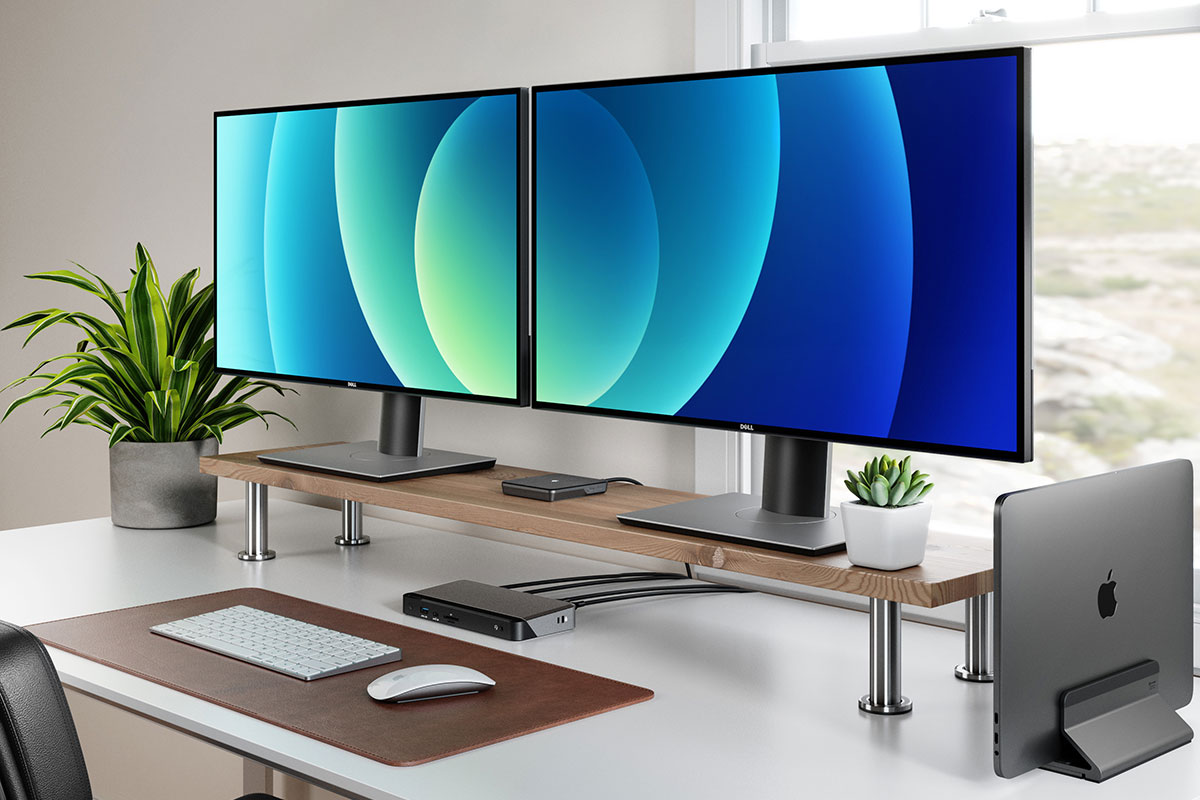
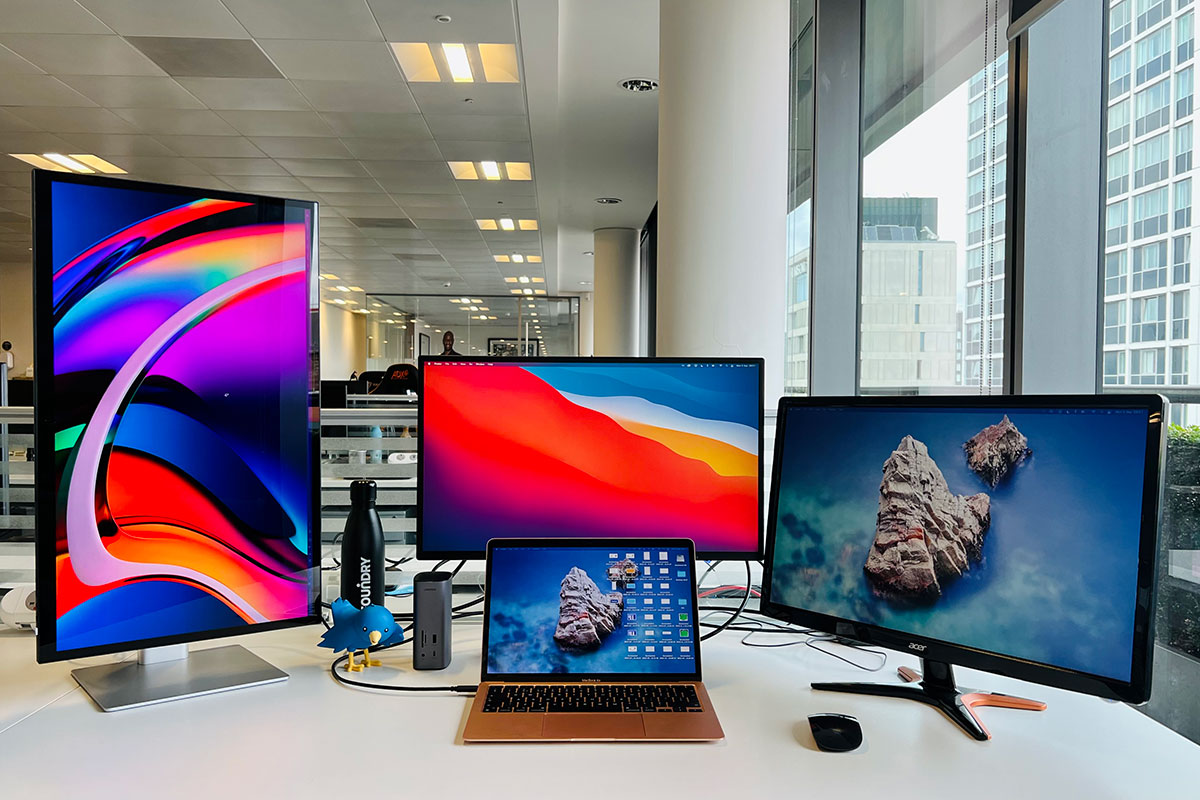
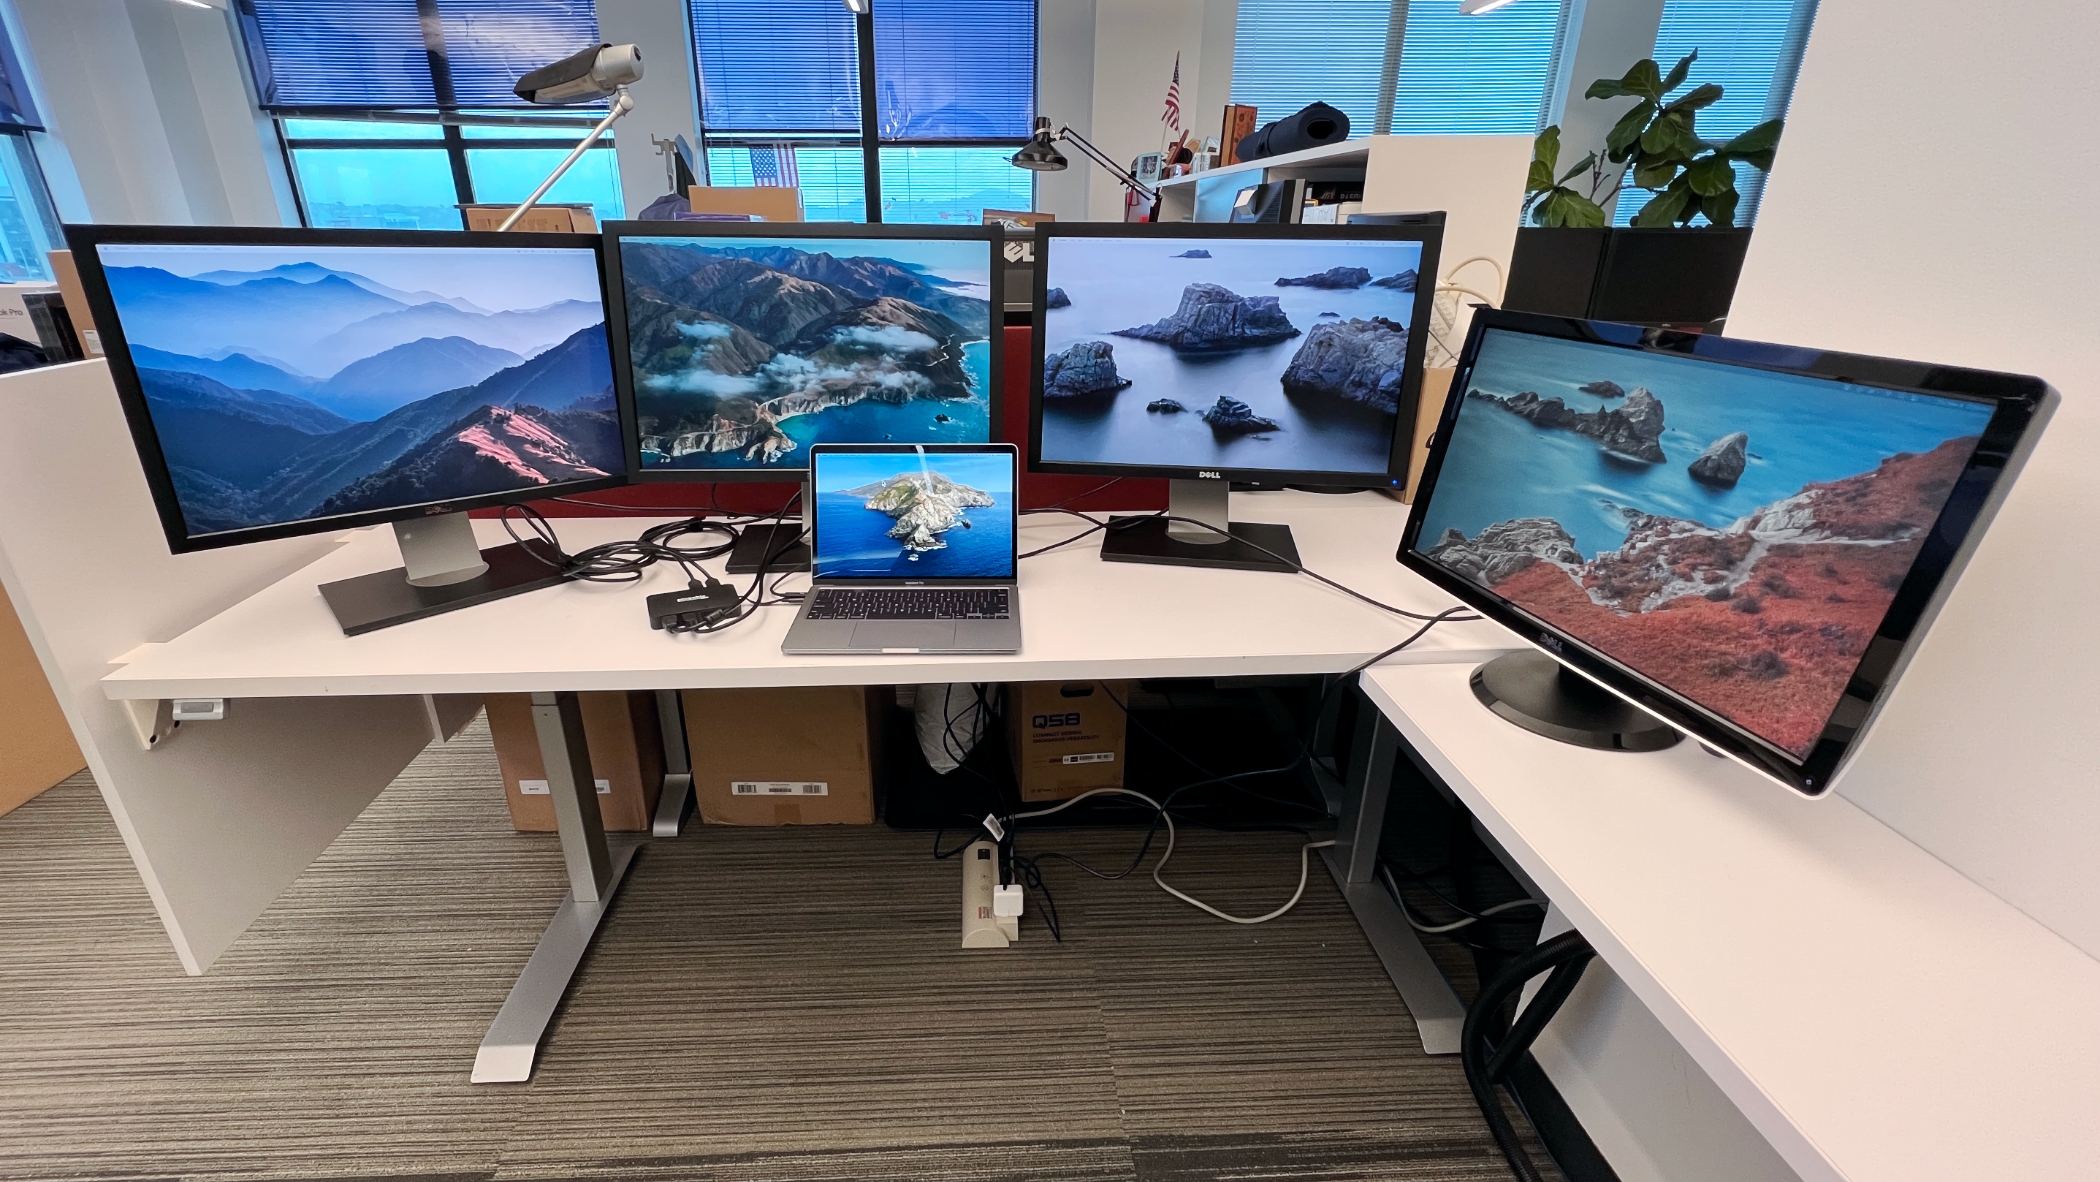
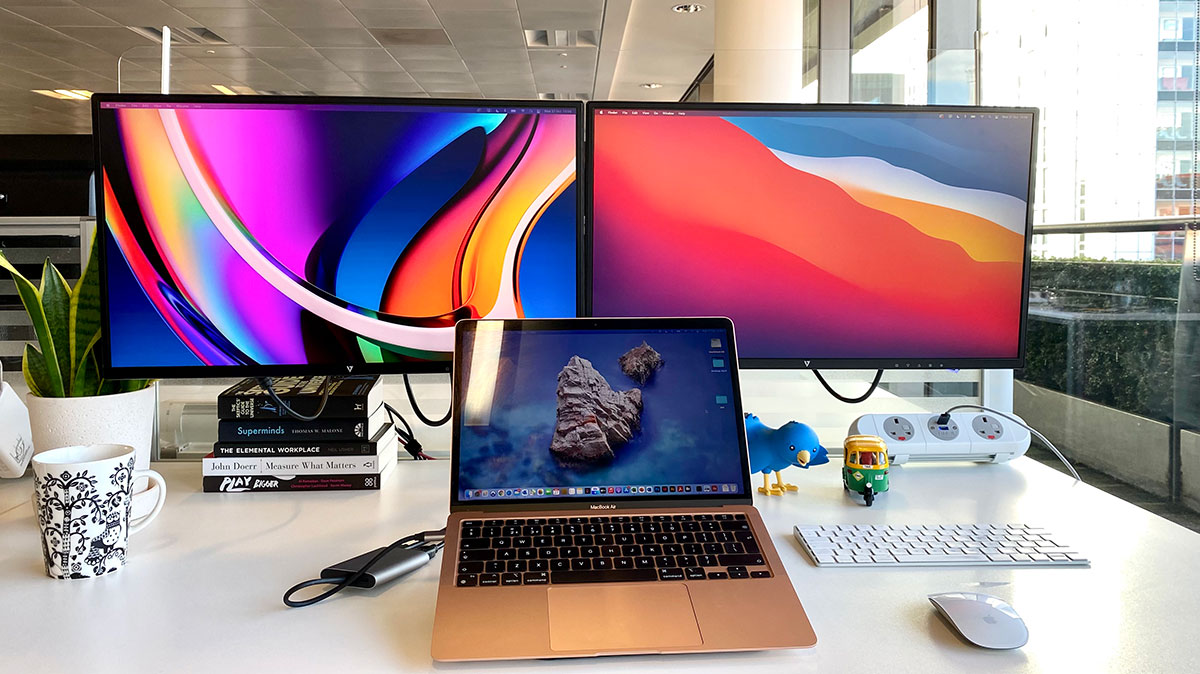
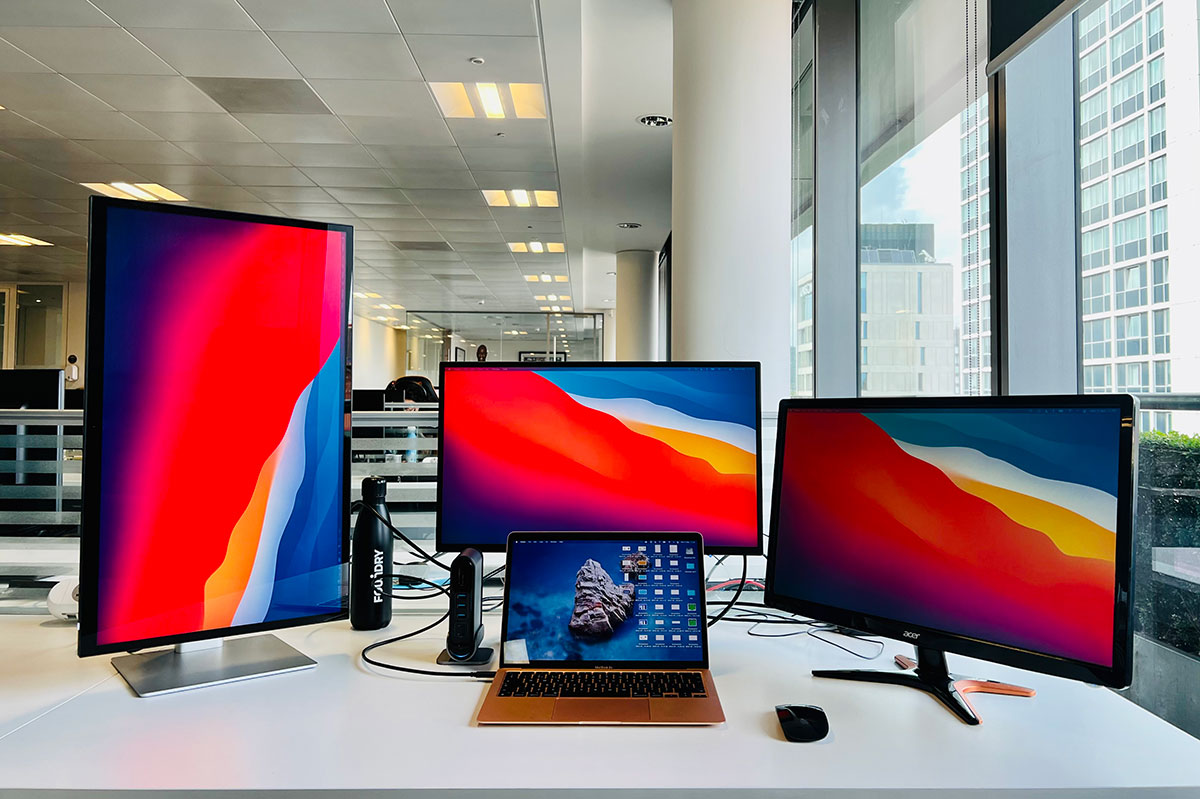
Plugable docking station and three external displays via DisplayLink.
There have also been reports that the M3 MacBook Air with palpebra conclude sufferssignificant operation declinedue to heat build up , so following our advice below still has relevancy even for M3 MacBook Air and Pro users who want to pluck up to multiple displays and keep their Mac purring at full speed .
Later , we list our test and advocate software and computer hardware answer for adding more than one showing to the plain M1 , M2 and M3 Macs . you may skip over straight to our leaning of thebest DisplayLink docksif you know all about DisplayLink . If not , read on a while .
The solutions we explicate here will also aid plain M4 users and M2 / M3 / M4 Pro MacBook users protract to three external display .
Plugable docking station and three external displays via DisplayLink.
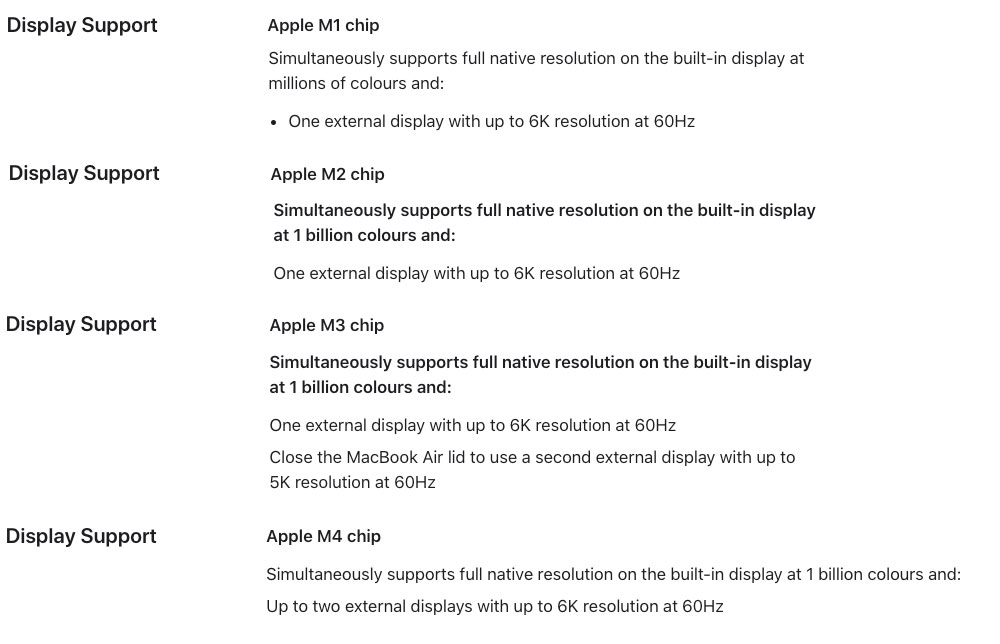
Here are the external display spectacles for Apple ’s current laptop :
However , there are ways around these plain M1 / M2 / M3 limitation , allowing you to lead two or more external show off your MacBook , which we will sketch here . In each cause , there ’s a software download and a docking station , hub or adapter required .
The bare solution is to get aUSB graphics - enableddocking station or hub , sometimes foretell aDisplayLink Dock — and we’vereviewed the just oneslater in this article . USB artwork is a software - based technology ( DisplayLink or InstantView ) that compresses the telecasting signal from the computer to the monitor , enabling you to get in touch multiple external display to your M1 , M2 or M3 MacBook .
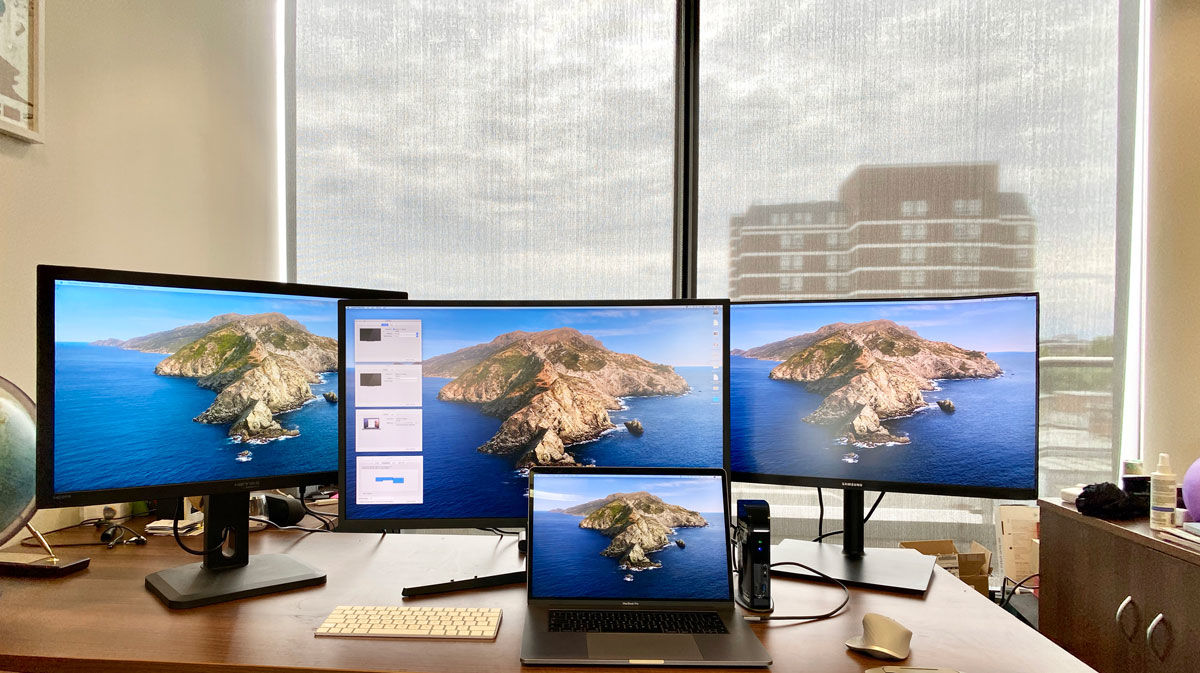
Plugable docking station and three external displays via DisplayLink.
install third - political party software package drivers leads to a slight risk that these might after be unsupported by succeeding updates of the macOS , but the two drivers we recommend are recognized industry standards that we believe will stay to be bear out .
External displays: Big problem for M1, M2 and some M3 Macs
Apple ’s Mac mini , MacBook Air , and 13 - inch MacBook Pro were the first Macs to boast the Apple - project M1 processor ( CPU ) . They received rave reviews for their speeding melioration over Intel - establish laptop , include here on Macworld . Since then Apple has released M2 , M3 and M4 chips , plus Pro and Max versions of the M1 , M2 , M3 and M4 .
But if your MacBook setup includes running more than one external presentation , you have a major problem . Apple ’s basic ( non - Pro or Max ) M1 and M2 check but wo n’t allow it — at least natively . Apple body politic in the M1 or M2 MacBook Air and M3 MacBook Pro tech specs that they support only “ one external display with up to 6 super C settlement at 60Hz ” .
Foundry
While the M1 and M2 MacBooks natively confirm just one monitor , the M1 and M2 Mac Mini does natively back up up to two external monitors — one via the HDMI port wine and a moment via USB - C. But the M1 and M2 models of the MacBook Air and MacBook Pro ( plus the M3 MacBook Pro ) substantiate only a exclusive international display over Thunderbolt .
The 14 - column inch M3 MacBook Pro also supports two external display in Clamshell Mode , but the macOS Sonoma 14.6 update must be installed to do this .
The M4 MacBook Air and 14 - inch M4 MacBook Pro hightail it the individual - display limitation even with its eyelid assailable , but if you want more than two displays for that model , keep reading .
We cover the basics ofhow to connect your Mac to an international admonisher .
Workaround #1: Install DisplayLink software drivers
you may use a combination of display engineering to get around the M1 / M2 / M3 MacBooks ’ individual - monitor restriction . DisplayLink is the most common package solution that you pair with a compatible dock : we ’ve tested thebest DisplayLink docksfurther down . Note that the sour grass need to state DisplayLink compatibility — you ca n’t just install DisplayLink driver and trust they wreak with steady dockage and hub .
A whole fresh category of dock — many reviewed below — has appeared to figure out the M1 / M2 / M3 Mac one - screen problem . DisplayLink USB - C docks or just USB - C dock require software drivers to enable data compression that make them almost as muscular as a Thunderbolt dock . You ’ll need to download the appropriate DisplayLink software package from the sour grass manufacturer — full education afterward on .
Many multi - display dock use a combining of native USB - 100 Alternate Mode ( aboriginal “ Alt Mode ” television end product ) and DisplayLink engineering science . This combination serves as a workaround to the M1 / M2 / M3 political program tolerate only a single external display via USB - C.

notice that DisplayLink requires a third - party equipment driver to be install on the Mac . There are dissimilar version of the DisplayLink driver , and some bring their own compromises to the party . But , in general , apparatus is straightforward . Some of the docks we survey below offer the DisplayLink software when you first connect the wharf to your Mac .
The DisplayLink macOS app or DisplayLink Manager app are ways of enabling DisplayLink technology on macOS . The app is uncommitted as astandalone installerrather than through the mac App Store .
1.First , download the latestMac DisplayLink gadget driver . As stated above , some docks , do this for you but it ’s always adept to use the latest version .
DisplayLink Manager Graphics Connectivity App v. 1.12 is compatible with macOS Monterey 12 , Ventura 13 , Sonoma 14 and Sequoia 15 . For macOS Big Sur 11 , attend for interpretation 1.9 , and v1.5 for Catalina 10.15 . It can be managed via the DisplayLink ikon in the Apple Menu bar .
The macOS ask the user to permit “ Screen Recording ” in order for DisplayLink equipment to run properly . This can be rule in System Preferences underPrivacy in Security & Privacy ; navigate toScreen Recordingin the lean on the left , then tick the Screen Recording permission for DisplayLink Manager after unlock the padlock using your admin countersign . You may need to quit and re-start DisplayLink Manager afterward . Do n’t worry , DisplayLink is n’t recording your screen door — this just let it do its magic enable multiple cover .
initiation is straight . old rendering did not support laptop computer ’ closed - display / Clamshell Mode , but 1.8.1 and later do support Clamshell Mode if the MacBook is Intel - based running macOS 12 or if the MacBook is M1 - based running macOS 11 or later .

The scariest flake is when you need to enable “ Screen Recording ” to allow the DisplayLink Manager app to capture pixels and send them to your USB peripheral . This entail crap some adjustments in the Mac ’s “ Privacy ” yellow journalism , but you are walk through it dance step by step . Take a looking at the instructionshere .
There ’s an selection in DisplayLink manager to “ launch at startup ” , or you may drag the DisplayLink Manager to your Login Items in Users & Groups .
2.Then relate the MacBook to a docking post .
3.For the first screen you could plug into via the loading dock ’s DisplayPort or HDMI Port , and this will be handled natively by the M1 / M2 MacBook .
You could also connect the first external display via the dock ’s other display porthole or via a Thunderbolt or USB - C to HDMI or DisplayPort arranger .
The HDMI or DisplayPort output uses Alternate Mode ( Alt Mode ) , and as it is basically a pipeline directly to the arrangement ’s aboriginal GPU , it will carry just like if you hooked up a USB - C to HDMI dongle to your laptop . This requires no user driver initiation .
The 2nd and third displays will swear on the DisplayLink software . DisplayLink use an installed driver and the organisation CPU and GPU to change graphics information on the organisation into data packets . That data is then sent over the cable length as datum packets and converted back to video data and output to the monitors via the DisplayLink chip in the moorage station .
Workaround #2: Install InstantView software
Another third - party software solution is SiliconMotion ’s InstantView , which manoeuver in a interchangeable manner to DisplayLink and works with three of the hardware hub and adapters we review below . The initial apparatus is gentle than DisplayLink with the hubs from Hyper but alike to the Satechi hub — but it suffers the same challenge that Apple ’s software system updates could incapacitate it , which will imply installing a newer variation and allowing the necessary security & secrecy mount for filmdom recording , just as with DisplayLink .
you could download thelatest version of InstantView software here . The late version supports macOS 15 Sequoia , 14 Sonoma , 13 Ventura and 12 Monterey .
Neither software solution is complicated and both work well in our test as you may read below .
Which docks support DisplayLink and InstantView?
Originally , dockage manufacturers did not officially support such a DisplayLink setup for Macs . The solution work , but they rightly warned that this could become unstuck in future version of the macOS . Whenever there is a fresh OS update the drivers may need to be update each time .
However , after some recent examination and improvements Plugable , for good example , has updated its compatibility to officially support that configuration . For Mac compatibility , it has validated both Apple and Intel chopine running at least macOS 11 .
Which dock is best?
A moorage station connects to your MacBook via Thunderbolt or USB - C. It then offer multiple ports that your laptop computer now has approach to . These can include young display larboard , such as HDMI , as well as Gigabit Ethernet for electrify Internet access , USB - C / Thunderbolt / USB - A port at vary speeds , audio plugs , and card reader .
Learn more about thebest Thunderbolt docking stationsfor more detail , or you could connect via a simplerUSB - C hub . front for a dock with two or more display ports , preferably ones that can connect to your preferred showing without the want for an adapter .
Thunderbolt 4 docks or hubsoften have no consecrated display port wine but three available TB4 port that can be used to connect directly to a USB - deoxycytidine monophosphate display or via adapters to HDMI or DisplayPort monitors . While you may have to corrupt an arranger cable , 40Gbps Thunderbolt 4 ’s interface flexibility and backward compatibility are urge for user of innovative Macs such as the M1 and M2 MacBooks .
USB - degree Celsius dock and hubs are unremarkably cheaper , but not always so check our reviews below .
dockage post and hub manufacturer are now actively market their production as solution to the M1 / M2 / M3 external display limitation — loading dock have to suffer DisplayLink to go with the package . All the docks and hubs reviewed below support DisplayLink . Each requires either the DisplayLink download or another exchangeable package answer , such as InstantView , but no further hardware adapter except for the dock or hub itself . And of course , these hubs bid the usual multi - larboard welfare as well as the external monitor lizard solution .
The best multiscreen hubs and adapters for M1, M2, M3 and M4 MacBooks
Below we have gathered the best dedicated hubs and dock for multiscreen M1 / M2 / M3 / M4 . notice that most of these listed ( and tested ) below utilise USB - C rather than Thunderbolt , so do n’t benefit from the MacBook ’s potential 40Gbps data bandwidth . If you require all 40Gbps , go for a Thunderbolt dockage and set up DisplayLink as instructed above .
We have tested wharfage that can support four outside displays and some that max out at two , which we expect will be plenty for most masses .
Satechi Thunderbolt 4 Docking Station with DisplayLink – three 4K displays at 60Hz for M1/M2, four for M3/M4
Pros
While plain M1 and M2 MacBooks are limit to three external displays using this dock when DisplayLink software is installed , M3 / M4 and M1 / M2 / M3 / M4 Pro / Max MacBooks can touch base to four 4 K at 60Hz .
Other docks reviewed here also allow M1 and M2 Macs to unite to three displays , but what we really like about the Satechi Thunderbolt 4 Docking Station with DisplayLink is right there in its name : it ’s a full Thunderbolt 4 dock rather than USB - C. It therefore offers 40Gbps data - transfer rates compared to the 10Gbps that you ’ll find on most of the other docks reviewed here . The Plugable TBT-6950PD , reviewed below , is very alike to this Satechi dockage .
That Thunderbolt port connectedness also allows one of the three screens to be at 6 K resolving power ( 60Hz ) while the other two via HDMI will be 4 K at 60Hz .
There are two HDMI 2.0 port wine plus a generous three downstream Thunderbolt 4 ports ( as well as one upstream TB4 to the laptop ) . It does n’t host any extra USB - C ports but the three Thunderbolt 4 ports ( 40Gbps data transfer , 15W superpower output ) are backwards compatible with USB - C. There are two degenerate 10Gbps USB - A ports , too , plus a UHS - II SD lineup reader , Gigabit Ethernet and an audio jack .
Non - Pro / Max M3 and M4 Macs can plug in to four displays using this dock , as long as the laptop ’s lid is closed ( clamshell mode ) . It ’s also a great option for M1 / M2 / M3 / M4 Pro users usually restricted to two outside displays .
U.K. customers can corrupt direct from Satechi ( with a minor shipping fee ) but will demand to purchase a local exponent cable .
Satechi also sells a 12 - port USB - C - basedTriple 4 K Display Docking Stationthat supports three 4 1000 displays at 60Hz using DisplayLink . It is priced the same as the Satechi Thunderbolt DisplayLink Dock . commonly we ’d always pick a Thunderbolt pier over USB - C but this one host a mix of DisplayPort and HDMI port that offers a more flexible reminder choice than the Thunderbolt dock ’s two HDMI and three TB4 ports . If you prefer DisplayPort for your monitor connection you should consider this USB - C dock although a simple USB - C to DisplayPort adapter will lick the same magic on the TB dock .
Plugable Thunderbolt 4 Docking Station (TBT-6950PD) – three 4K displays at 60Hz for M1/M2, four for M3/M4
bunco
This dock is almost identical to the Satechi Thunderbolt 4 DisplayLink wharfage reviewed above . M1 / M2 Mac possessor can relate up to three international displays , and M3 and M1 / M2 / M3 Pro and Max user can attach up to four monitors .
The Thunderbolt port means one of the three screens can be at 6 1000 resolution ( 60Hz ) while the other two via HDMI will be 4 honey oil at 60Hz .
The USB port wine are at least 10Gbps and the SC circuit board lector is also degraded at 312MBps .
The Plugable variant has a few advantages over the Satechi : a slightly longer ( 1 m vs 0.8 m ) Thunderbolt cable’s length , Kensington ringlet time slot and two - twelvemonth warrantee ( vs 1 class from Satechi ) .
Alogic DX3 Triple 4K Display Universal Docking Station – three 4K displays at 60Hz
This Alogic DisplayLink tying up station bear out up to three external 4 1000 display at an telling 60Hz refresh pace and has an raiment of useful non - display embrasure . It can power the connect laptop computer at 100W and has a decorous 135W external power supply so does n’t require an extra USB - C charger .
The DisplayLink download link is clearly shown in the user manual , and instruction manual make sense — although you involve a overdraw glass to register them !
The DX3 has three DisplayPort 1.4 ports but no HDMI , so you ’ll necessitate to tot up an adapter between bobtail and display if you prefer HDMI . As you ’ll need to bribe video overseas telegram anyway , this does n’t weigh as cost for straight transmission line and adapter cable are close enough .

This dock has two circuit card readers : South Dakota and MicroSD , both at top 312MBps UHS - II — admit you to add inexpensive portable memory board to your laptop setup .
It also has Gigabit Ethernet , four USB - A ( one with 7.5W charging ) and two 10Gbps USB - C ( one 100W PD upstream to the laptop computer , and one 7.5W smaller equipment charging ) .
Reviewed below is Alogic ’s DX2 , which supports two 4 KB displays at 60Hz and lacks some of the other port found on the DX3 . if you just involve two external Monitor for your M1 / M2 / M3 MacBook this may be a cheaper pick .
Wavlink Dual 4K DisplayPort & HDMI Adapter – two 5K displays at 60Hz
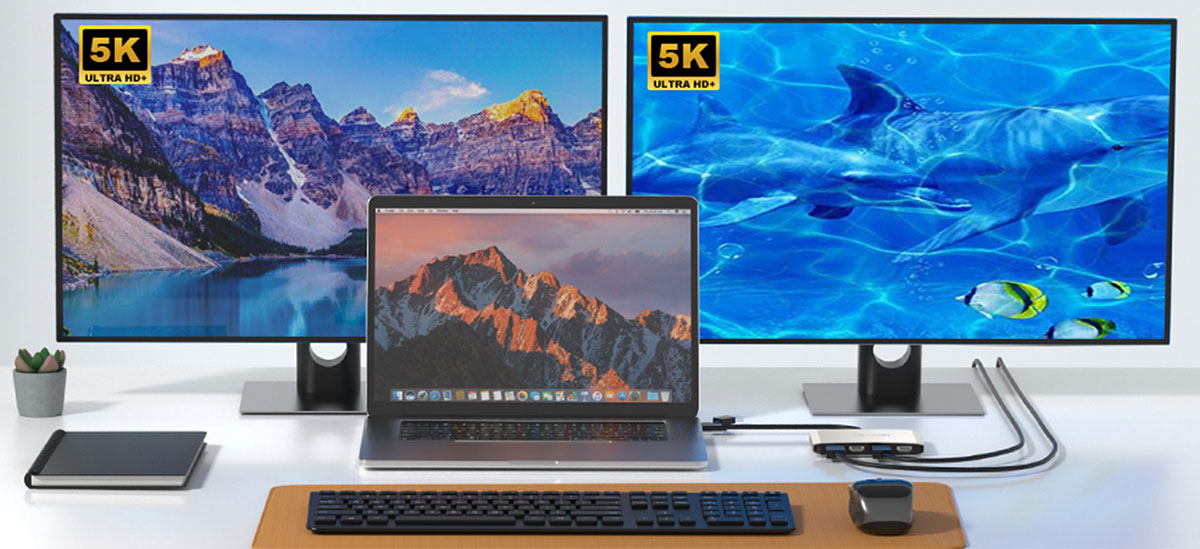
Once you ’ve installed the DisplayLink drivers , this means an M1 / M2 / M3 MacBook can tend two lengthy displays at up to 5 K ( 5120 - x-1440 ) at 60Hz using a combination of these video ports . You ’d need to use both DisplayPort 1.4 port for the maximal 5 KiB firmness of purpose — the HDMI 2.0 port max out at 4096 - x-2160 at 60Hz .
There ’s no passthrough charging so you ’ll need to expend another of the MacBook ’s Thunderbolt ports to keep the laptop computer powered up in role .
Plugable USB-C Dual 4K Display Docking Station (UD-6950PDH) – two 4K displays at 60Hz
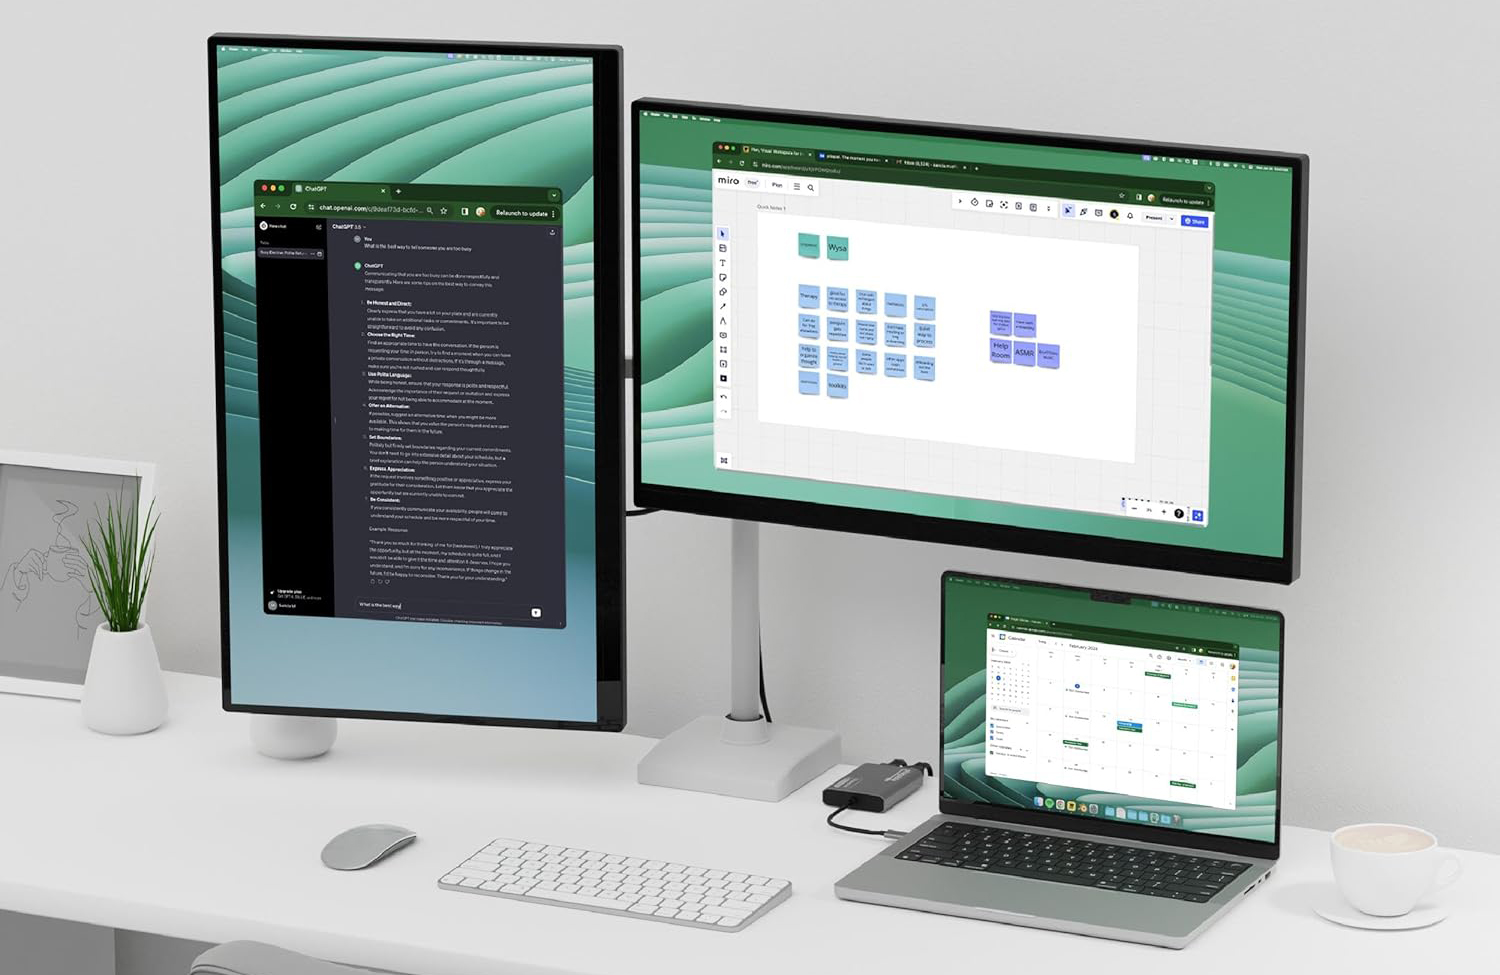
If you do n’t require full 40Gbps Thunderbolt , Plugable ’s redesigned USB - C -based UD-6950PDH tying up place plus spare - to - download DisplayLink software can connect two extra 4K/60Hz displays to M1 , M2 and M3 Macs . While spare M3 MacBooks can already tie to two outside displays , this DisplayLink dock take into account plain M3 MacBooks to remain open with the two additional display attached ( otherwise the M3 laptop ’s hat has to be closed ) . M4 and M4 Pro MacBooks can already run two screens natively but using a dock saves the laptop ’s built - in ports .
It features an impressive 13 ports including Gigabit Ethernet , Mount Rushmore State and MicroSD card proofreader and five spare USB port .
You wo n’t get data transfer any faster than 5Gbps so if you lust the full 40Gbps Thunderbolt bandwidth you should instead consider the more powerful Plugable Thunderbolt 4 Docking Station with DisplayLink , reviewed above .
you may utilise both of the dock ’s HDMI embrasure or both DisplayPort or a mix of each , depending on your monitor requirements . Two picture port will always be leave empty , but the tractableness is welcome .
No availability outdoors of North America has yet been announced .
Plugable USB-C Dual HDMI Adapter – two 4K displays at 60Hz
Plugable also sell a simple one - function transcriber that uses DisplayLink to enable dual 4 K 60Hz displays for M1 and M2 MacBooks with two HDMI port . It ’s no dock but it does the line you require without fuss .
Alogic DX2 Dual 4K Display Universal Docking Station – two 4K displays at 60Hz
We prefer Alogic ’s DX3 that put up up to three 4 kelvin displays and offers more ports and faster buck for not much more cost , but the DX2 is fine if all you require is two top - end monitors connected to your mid - sized M1 / M2 MacBook .
It features two DisplayPort 1.4 ports , one 10Gbps USB - hundred with 7.5W charging , three 5Gbps USB - A ports ( one with 7.5W ) , a 3.5 mm sound recording jack and Gigabit Ethernet .
Ugreen USB-C Revodok Pro 312 Triple Display Docking Station – three 4K displays at 60Hz
The Ugreen USB - C Triple Display Docking Station is a calibre compact vertical dock that supports up to three outside displays on a plain ( non - Pro or -Max ) M1 / M2 / M3 / M4 MacBook if you install DisplayLink software program .
Priced at $ 329/£399 , it features two HDMI ports and a DisplayPort and can support three 4 K displays at 60Hz on a Mac . There are 12 ports in total , include Gigabit Ethernet , card reader , and 10Gbps USB - A and USB - C port . It connects to the MacBook via 10Gbps USB - C.
You require to install DisplayLink on your Mac — instructions above . Ugreen could make this promiscuous with a link on its site .
Read our fullUgreen USB - C Triple Display Docking Station recapitulation .
Hyperdrive Dual 4K HDMI 10-in-1 USB-C Hub – one 4K display at 60Hz, one 4K display at 30Hz
The Hyperdrive Dual 4 K HDMI 10 - in-1 USB - C Hub does n’t habituate DisplayLink and alternatively uses SiliconMotion ’s InstantView .
Hyper suppose that it mold “ without having to download inapt drivers ” but there is some software instalment call for , and you take to permit InstantView accession to your Privacy preferences in System Preferences . You touch base the hub or adapter to your M1 / M2 MacBook and rule the HyperDisplay app that appears in a Finder folder sidebar . Double - click the macOS InstantView icon and follow the System Preferences instructions . Once this has been finish your MacBook will mechanically recognise the adapter from then on .
It ’s an easier answer than DisplayLink but with the same power to allow M1 , M2 and M3 Macs to unite to multiple external display .
This compact hub still includes 10 port , including the all - important 2x HDMI . The first display at 60Hz is tally via HDMI and stateless person Alt - mode and the second at 4 K 30Hz through HDMI and InstantView .
Also included are Gigabit Ethernet , MicroSD card reader ( UHS - I ) , 3.5 mm audio frequency jack , 2x 5Gbps USB - A , and one 5Gbps USB - C. A further USB - C PD port allows you to charge the connected laptop at up to 100W — handy as the hub itself uses up one of your laptop ’s Thunderbolt ports .
Hyperdrive Dual 4K HDMI Adapter – one 4K display at 60Hz, one 4K display at 30Hz
This double - subroutine hub is designed to supply two HDMI display ports for a MacBook M1 / M2 / M3 , plus passthrough charging for the laptop computer . It does n’t offer a clump of other ports like its big brother , the Hyperdrive Dual 4 kB HDMI 10 - in-1 USB - degree centigrade Hub retrospect above . As a event , it is cheap and is one of the most cost - effective solutions for adding multiple monitor to the modified homely M1 / M2 / M3 Macs .
Like the 10 - in-1 , it uses SiliconMotion ’s InstantView rather than DisplayLink software program to get past the limit .
The first show at 60Hz is impart via HDMI and DP Alt - mode and the second at 4 K 30Hz through HDMI and InstantView .
If you necessitate more ports , such as Gigabit Ethernet , card reader and USB ports , consider the Hyperdrive 10 - in-1 or one of the other hub or docks reviewed here ..
Plugable USB-C to Quad HDMI Adapter (USBC-768H4) – four HD displays at 60Hz
Do you really want four concealment ? If you do , and you’re able to do without 4 super acid solvent , the Plugable USB - hundred to Quad HDMI Adapter digest four HD displays even on an M1 , M2 , M3 or M4 MacBook using the Silicon Motion InstantView software ( requiresdownload and installment ) .
The adaptor features just the four HDMI larboard so does n’t pop the question any Gigabit Ethernet or surplus USB - C embrasure , but does what it says on the corner . All four displays can support HD ( 1920 - x-1080 ) at 60Hz images .
The USB - ampere-second transmission line gather neatly into the adapter ’s font when not in use , make this a nimbly portable solution … as long as you do n’t also carry the four covert around with you .

Ugreen 9-in-1 USB-C Docking Station – two 4K displays at 60Hz
If you do n’t demand three outside screen , we like this USB - C dock for its two HDMI and two DisplayPorts , which you could opt between when adding two displays to your M1 , M2 or M3 MacBook . This should suit most monitors , unless you prefer lineal USB - C video display .
Its spare USB porthole ( 2x USB - A and 1x USB - C ) are quick ( 10Gbps ) for data transfer , and another USB - light speed port wine can be plug into a USB - C courser ( not included , which is rough-cut with the docks refresh here ) and supply up to 100W of charging index to the connected laptop .
There ’s also a Gigabit Ethernet embrasure for fast , unchanging wired Internet memory access .
You want to establish DisplayLink on your Mac — instructions above — and Ugreen has made this easy by sum up the download files to your Mac when you first connect the wharfage .
Read a fullUgreen 9 - in-1 USB - vitamin C dock followup .
Alogic DV4 Universal Quad Display Docking Station – one 4K display at 60Hz, two HD displays
With third - party DisplayLink drivers , this sorrel will abide up to three presentation on a Mac . you may connect one 4 K at 60Hz display ( 3840×2160 pixels ) via either the DisplayPort or one of the HDMI ports . The other two display via HDMI , however , are at a less HD ( 1920×1080 ) closure , both at 60Hz .
There is a tie-in to the DisplayLink download print in the exploiter manual , although the eccentric in the manual is the smallest we ’ve ever view !
The glasses are n’t quite as telling as the Satechi Triple 4 K Display Docking Station , with 5Gbps a maximal data - transfer rate , although charging wattage for USB - A ( 3.0 ) is up to 7.5W each and USB - C is up to 12W , which beats the Satechi ..
However , it does boast both SD and MicroSD add-in readers for low-cost portable storage options , although UHS - I rather than tiptop - riotous UHS - II . And , crucially , it ’s cheaper , although you will need to add your ownUSB - C 100W PD charger , unlike the Satechi Triple 4 K Dock .
Satechi USB-C Multimedia M1 Adapter – one 4K display at 60Hz, one 4K display at 30Hz
The Satechi USB - C Multimedia M1 Adapter uses InstantView rather than DisplayLink but the installation process is practically the same when you abide by the manual .
It includes 2x HDMI port : one of which can support a 4 K display at 60Hz and the other at 30Hz .
It ’s more than a mere show arranger , though , as it also boasts USB - C PD passthrough charge at up to 85W , one 5Gbps USB - C porthole , and two 5Gbps USB - A ports .
Although diagnose after the M1 CPU it is fixing on the multiple video display front , it will also influence with likewise restrain M2 and M3 MacBooks .
Like the Hyperdrive Dual 4 K HDMI 10 - in-1 USB - deoxycytidine monophosphate Hub , Hyper ’s trashy Dual 4 K HDMI Adapter expend the simpler InstantView software rather than DisplayLink .
Lacking any other ports , it ’s not a hub and so just facilitates the dual - show part on M1 and M2 Macs . While it ’s cheaper than its 10 - port sibling , we ’d urge the more able hub — unless you need three presentation , in which slip you ’d need to look at the other hubs and docks reviewed here .
One HDMI larboard supports 4 K displays at 60Hz , but the other at the tiresome 30Hz .
A passthrough USB - C embrasure involve a USB - hundred charger but can supply 100W to the connected laptop .
If you ’re base outside the US , beware as Hyper charges $ 80 external shipping , making this adapter more expensive than its 10 - port sib .
Alogic Dual 4K Universal Compact Docking Station – two 4K displays at 60Hz
The Alogic Dual 4 K Universal Compact Docking Station comes in two models — the CH2 , which features two HDMI 2.0 ports ; and the CD2 , with two DisplayPort ports — so you may choose which best suits the outside presentation you already own .
Two external sieve are belike enough for most people . If you require three , see the other hub and docks reviewed here . Both screen can be up to 4 kilobyte at 60Hz . Basic instructions are move over on installing the DisplayLink software for M1 , M2 and M3 Macs .
This neat , compact dock does n’t feature as many port as others remark here but what it has are top - rated : both the USB - A and USB - C ports plump for 10Gbps data transfer of training . There is also a Gigabit Ethernet embrasure and a UHS - II SD lineup reader .
A passthrough USB - C port — you need to tot up a fittingly powerful courser — can handle 100W , although 22W is required by the dock so entrust 78W for laptop and gadget lodge . The loading dock must be tie in to the laptop computer to leave gadget charging .
EZQuest Ultimate Plus USB-C Multimedia Hub – one 4K display at 60Hz, one 4K at 30Hz, one HD
The EZQuest Ultimate Plus USB - C Multimedia Hub has two HDMI ports and a VGA porthole , and supports one 4 K at 60Hz and one 4 K at 30Hz via HDMI and 1080p HD via VGA . If you want three 4 K displays , look instead at the Ugreen Triple Display Dock .
It also features 5Gbps USB - A port , Gigabit Ethernet and card proofreader .
Like the Ugreen dock , it command a USB - C charger for king and can go along through up to 85W to the connected MacBook , but link up via dense 5Gbps USB - C.
Baseus 17-in-1 Docking Station – three 4K displays at 30Hz
The Baseus 17 - in-1 Docking Station has three HDMI ports , each of which can join to an international 4 K exhibit at 30Hz . If you require three 4 K international display at 60Hz , the Ugreen Triple Display Dock will fulfill your needs better . If 30Hz is fine , the Baseus will save you money . 60Hz is better for gamers as it offer unruffled video .
One big limitation for Macs , though , is that the external displays can only mirror and not extend the Mac ’s screen .
Its claim to have 17 porthole is overdo slightly as one is for the external king provision that powers just the dock at 12W. and another to add superpower the dock via a USB - C charger and then onto the laptop . But it has 15 other ports including the upstream 5Gbps USB - ampere-second connective to the MacBook , plus Gigabit Ethernet , plug-in readers and 5Gbps USB - A and USB - carbon port .
StarTech.com USB-C Hybrid Triple Monitor Docking Station – DisplayLink dock with video options
This triple - monitor DisplayLink - based moorage station is positively bristle with port : 15 in total .
Most interesting to us here are the six video ports : 3x DisplayPort 1.4 and 3x HDMI 2.0 . This does n’t mean you could connect six displays but it does should give you pliable options for the type of connectedness that fit your display . However , in testing we had no achiever linking via DisplayPort , which prepare the supernumerary options rather worthless . As such , we opt the other docks and hubs reviewed above .
You need to download the DisplayLink drivers for your M1 / M2 / M3 Mac . StarTech.com has alink and a video , or just follow our template above .
As well as the half - XII television ports are six USB ports : 2x USB - C ( one at 10Gbps and one 5Gbps ) , plus 4x USB - A ( one 10Gbps and three 5Gbps ) . The 5Gbps USB - C port can charge a connected gadget at 18W , enough to fast - charge an iPhone . One of the 5Gbps USB - A ports can charge at 7.5W.
Rounding off the many ports are Gigabit Ethernet and a 3.5 mm Audio In - Out .
There ’s no card reader to add together portable repositing but you could connect an adapter to one of the USB ports .
Workaround caveats
Whenever there is a newfangled o update DisplayLink and InstantView driver may take to be updated each time .
Plugable does n’t commend the workaround for play , picture editing , digital audio workstation ( jackdaw ) , and protect content ( HDCP ) playback . For these workloads , drug user will want the full throughput of a “ marginal - metallic element ” native GPU connection — such as provided by the DisplayPort or HDMI port wine on the dock using Alt Mode .
Caldigit actively recommend against using DisplayLink , as it find it treacherous and there would be no synergism between the driver and the dock . Because it requires a third - party driver , users are at the mercifulness of Apple and the third - party developer to substantiate later versions , the company say Macworld .
However , this combination of presentation technologies does allow M1 and M2 MacBooks to run more than one outside monitor , and the M1 and M2 Mac mini to run more than two . And more producer are add up out with docks and hubs that back it .
The only risk is that it could stop work at any time , although it would n’t harm your scheme if it did , and you could just uninstall DisplayLink .
DisplayLink and InstantView are workarounds with a potentially special timespan but the likelihood is that compatibility would be restored at some stage if the unfit happened and you would get back your multi - monitor apparatus .
record ourM1 MacBook Air review , M2 MacBook Air review , andM3 MacBook Air critical review .
If you are want to apply a 2nd video display with your Mac and not have your Mac ’s cover on , read our featureHow to grow a Mac ’s concealment off . Want to use an 8 kibibyte monitor ? ReadHow to connect an 8 kibibyte display to your Mac .
What you need to know about DisplayLink and InstantView
FAQ
Does DisplayLink and InstantView block Netflix or other streaming content?
DisplayLink and InstantView are smashing at add up multiple monitors to M1 , M2 and M3 Macs , but there is a snatch .
Some protected content in Netflix , AppleTV , Amazon Prime , Disney+ or YouTube TV and other streaming applications may not play . The video remains sinister while audio keeps dally .
This is all down to how the macOS interfaces the DisplayLink driver used to access graphic capacity . As soon as one DisplayLink - enabled concealment is tie , protected content becomes unavailable on all screen .
This is down to the streaming chopine using eminent - bandwidth Digital Content Protection ( HDCP ) , which is Intel - developed digital copy protection that prevent copying of digital audio and telecasting content as it travels across connection .
Because macOS necessitate DisplayLink and InstantView to enable Screen Recording , HDCP moves in because it opine you are actually endeavor to register the substance rather than just exhibit it on projection screen .
How to enable streaming content when using DisplayLink or InstantView
To get circular HDCP stopping your DisplayLink or InstantView setup showing Netflix , Amazon Prime and other streaming services , you may require to disconnect all the DisplayLink or InstantView screens , or switch to a internet browser other than Safari or Chrome ( for example Opera or Firefox ) .
you may disable hardware acceleration in your web browser app to reach the protected content .
On Google Chrome , go to Google Chrome preferences , and tap “ Advanced ” and then take “ system of rules ” . Here you may disable “ Use ironware speedup when usable ” .
Select “ Relaunch ” to spark off the new circumstance .
If that does n’t solve the mordant issue , disconnect the docking station , and try using the laptop ’s habitus - in show or the verbatim telecasting port wine of the laptop .
Uninstalling the software program is the ultimate solution .
