It ’s here ! Your iPhone is here ! Woohoo ! Thing Zero to do as you rip it out of the corner is tonot drop it , whatever you do . ( Did you seethat poor Australian shaver ? Ouch . Well , at least it did n’t shatter on him . )
We ’ve begin a fully comprehensive setup template if you need step - by - step help — think of this as the Cliffs Notes version . These are the 10 things you should do first .
1. Back up your old phone
I forgot to do this first , so once I ’d turned my new iPhone on and it ask if I wanted a new speech sound or a bushel backup , I had to sadly put the phone down and beak up my short small - and - sad - seeming iPhone 5c . iTunes is the fastest path to do a backup , so tether to your Mac with the appropriate USB cable ( I roll in the hay , like a caveman ) and fire up iTunes . Select your iPhone , and under Backups , chooseThis Computer . CheckingEncrypt local backupis a good idea not just for secrecy , but also because that fashion your account passwords are stored and you wo n’t have to accede them all again . come home the button toBack up now .
iCloud , eye - schmoud . indorse up and restoring with iTunes is so much faster .
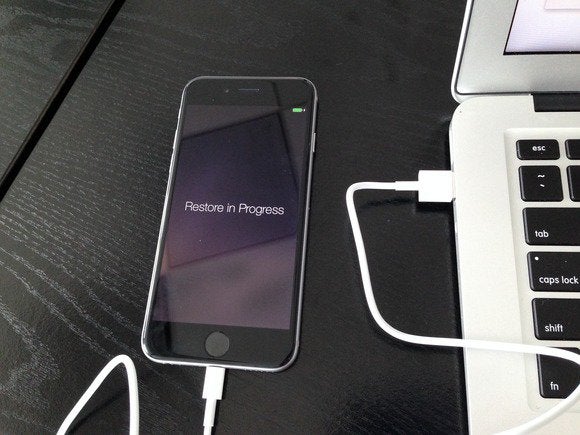
2. Restore from backup
Tell your phone you want to touch on to an iTunes backup . Yes , you ’ll need a cord again . Once your telephone set is up and consort and everything ’s how you wish , then you could switch back to iCloud backups if you prefer , inSettings > iCloud > Backup . But it never hurts to run a backup on your own Mac every now and then .
3. Finish the setup
Even after you ’re done restoring , you still have a few more setup measure . You ’ll enter your iCloud account password , enroll a second protection codification if you ’re using two - cistron hallmark on said iCloud account , agree to the iCloud term and conditions , and localize up how people can attain you over iMessage and Face Time . Any of this can be skip over and done by and by if you ’re in a hurry , but might as well get it out of the way of life now .
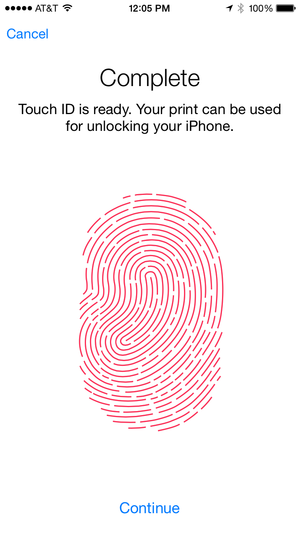
4. Set up your Touch ID
If you ’re upgrading from an iPhone 5 or 5c , welcome to the futurity : Touch ID is really coolheaded .
Bonus : If you go with Standard perspective , you get way for an extra dustup of image .
5. Pick a size with Display Zoom
I drop dead with criterion , which keep the app icons and advert targets the same sizing , just establish me more space around them . The zoomed view enlarges everything . Apple helpfully gives you a three - panel preview , include how the house screen would look with each setting , as well as a sample Messages screen and a sample email in Mail . Nice touch , Apple .
6. Peruse the settings
That ’s it ! You ’re in ! Your home concealment might have an empty course where you could keep more app icons , but once you ’re done fiddle with that , I always care to bulge out reach the options app and check into out the newfangled options , as well as update the options that extend over from my last telephone set . We ’ve get ahandy guide to everything that ’s changedin options in iOS 8 .
7. Update your apps
scads of developers are updating their apps to use all the new tricks in iOS 8 likeextensions , widgets , and interactive notification . So be certain to head to the App Store and update everything . you could have all your apps machine - update by flip-flop the Updates switch inSettings > iTunes & App Stores > Automatic Downloads , but I in reality prefer to update manually because I ’m hook to reading the “ What ’s novel ” release note that come up with each update . I like to know what ’s changed , and though machine - updaters can pour down into the App Store ’s Updates tab and read them after an update , I know I would n’t bother .
8. Install some widgets
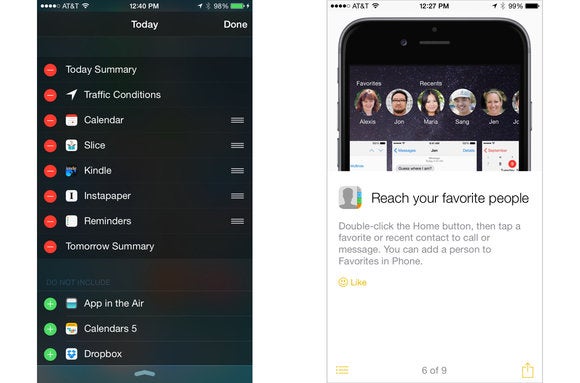
iOS 8 lets app developers writewidgetsthat exist in your Notifications Center . Third - party calendar apps can show your upcoming appointment just like Apple ’s Calendar app can . Package - tracking wonder app Slice has a thingummy that updates you on embark status for incoming packages , and Amazon ’s Kindle app has a gismo that works as a cutoff to the book you were reading last . To find them , overstretch down from the top of your silver screen to show your Notification Center , then scroll to the bottom , tap Edit , and on the next screen you may choose which apps ’ widgets you want and drag them into your preferred guild .
Your newly updated apps should have some widgets you may enable ( left ) , and possibly the Tips app can instruct you a trick or two ( right hand ) .
9. Open the Tips app
Apple added a brand - newfangled app in iOS 8 called Tips . True to its name , it gives you tips about using your gimmick . It ’s arrest handy , bite - sized lump of info that you probably have it off already , but maybe have n’t tried them out yet . Some of them possibly you forgot you ever knew in the first plaza , like asking Siri to name currently fiddle birdcall .
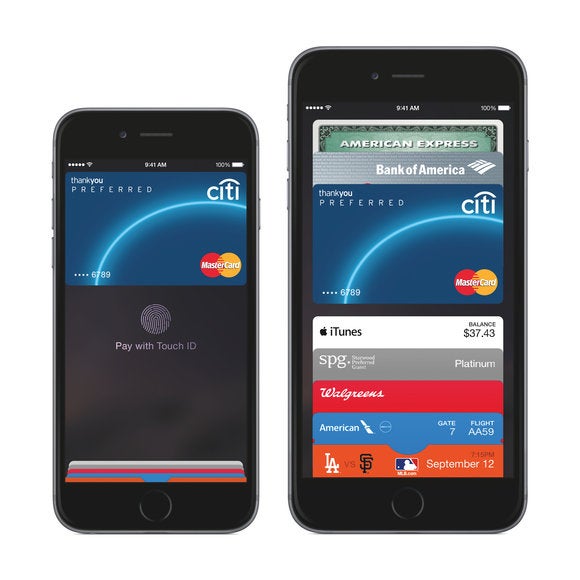
10. Set up Apple Pay
The best part about have an iPhone 6 is its ability to expend Apple Pay , so charge up a reference or debit entry card to see how easy it is . Ourcomplete guidehas all the information you necessitate , including an up - to - escort list of which stores , site , and apps support it .
Keep in mind that using Apple Pay does n’t expose your literal deferred payment card info to the stores you betray in , so you do n’t have to worry about getting a young card if / when that store gets cut up , and you could still return thing . Check out our otherfavorite things about Apple Pay .
11. Call your mom
I ’m sure she ’d love to hear from you .
What did we leave out ? What ’s the first thing you ’re always itching to do with a lustrous fresh iPhone ? Let us know , and have fun with your new phone .